Developing for Kubernetes
The K8s native development loop
Objective
A key part of the development loop with the Practiv framework is being able to run your application in Kubernetes as this allows us to test our applications in an environment that is as close to production as possible.
In this guide we’ll outline taking the application we created in the previous guide, and how we can build and then run it in Kubernetes.
Step-by-step
1. Build the project
Now that we have our project setup, we can build it.
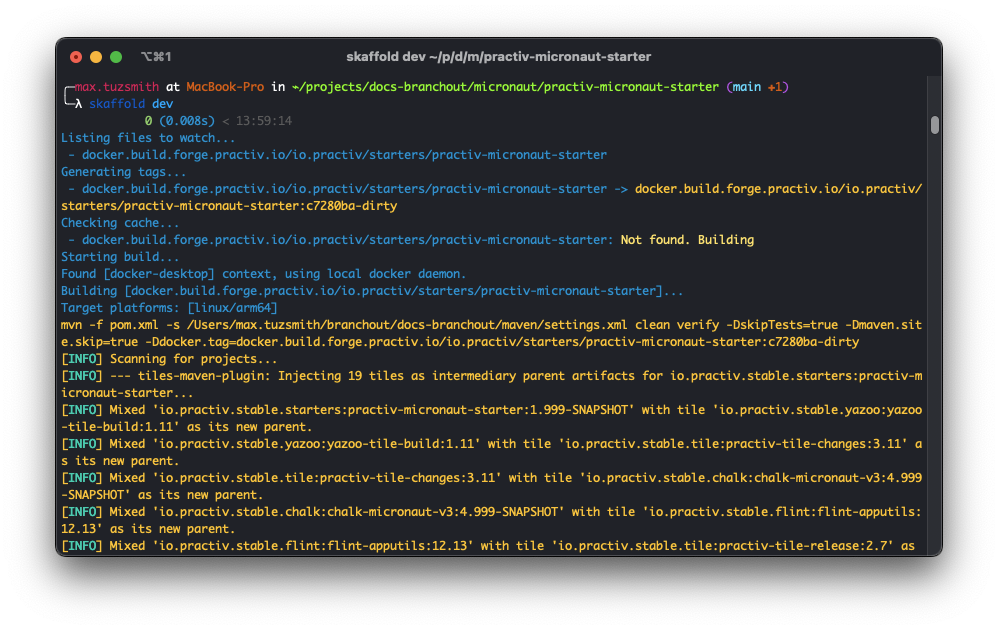
branchout maven cv
settings.xml that is generated by branchout.Provided access to the registries has been established correctly, you should see a successful build after the test cases run.
Notice the Docker container startup at the end of the process. This is a critical step to verify that your application can start up correctly in the context that it will run in a Cloud environment.
2. Iterate in dev mode
After your first build - you may notice that a skaffold.yaml is now present in your project root directory.
This is a configuration file for Skaffold, a tool that allows you to iterate on your application in a local Kubernetes cluster.
This enables us to build our app in a way that is very similar to how it runs in a real environment.
If you quickly look at the skaffold.yaml structure, you’ll notice the build step is simply running the command specified above (with some extras to skip tests in this case).
Run the following command to start the dev mode:
skaffold dev
Skaffold will determine if the build is necessary based on the files that have changed.
If they have, a new image will be built and deployed to Kubernetes. You’ll notice that the skaffold yaml deploys any files generated under target/skaffold/kubernetes
Once your build is completed, skaffold will deploy these resources to the defined K8s namespace:
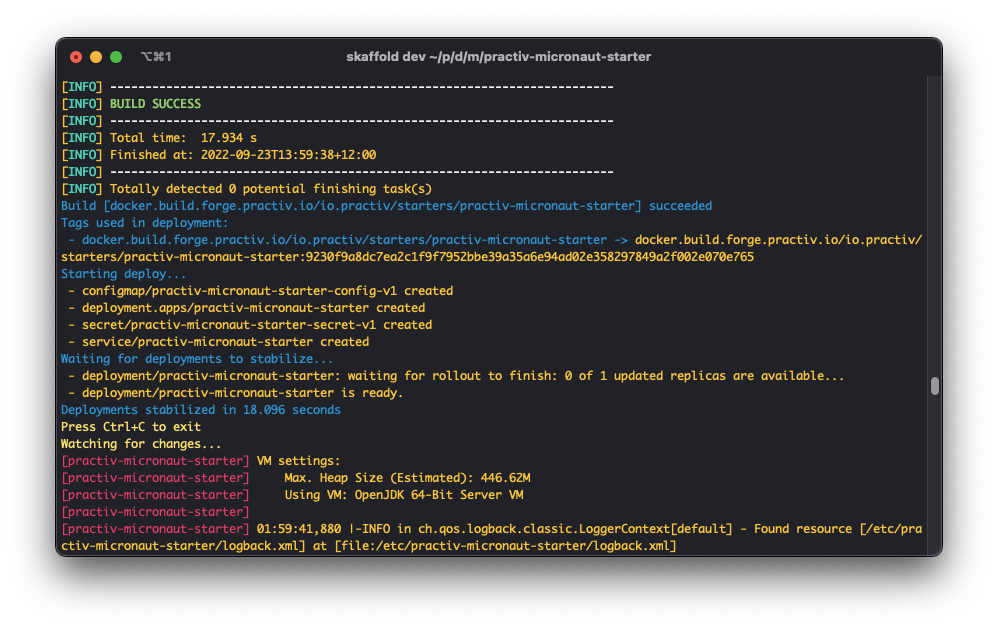
After this step, you should see your application started up in Kube!
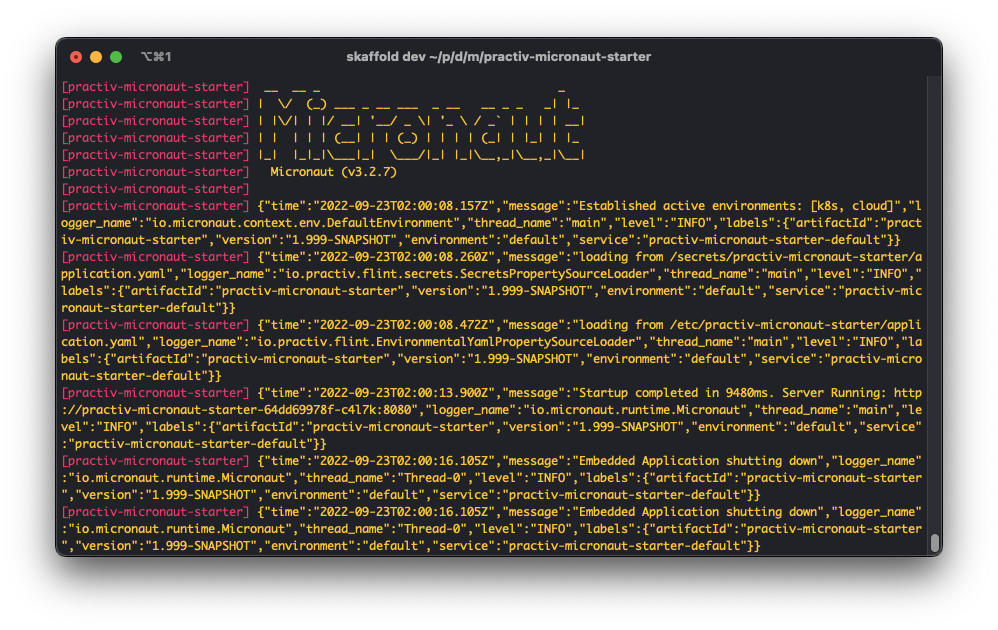
Skaffold is now continuously watching for changes. Try change the source code, and see what happens!! (Hint: it should rebuild and redeploy)
Hit ctrl+c to stop dev mode. Resources created will be cleaned up.
6. Access the app
Kubernetes by default won’t expose your application to your local machine. There are ways you can temporarily expose your application, or a way you can expose it on localhost just for dev mode.
Option 1: Port forwarding (temporary)
You can use the following command to forward the port of your application to your local machine:
kubectl get pods
kubectl port-forward pods/${podName} 8080:8080
Replace pod name with the pod name outputted in the first command. This simply maps the port 8080 on your local machine to the port 8080 on the pod.
You can now hit the application at http://localhost:8080/users/TestUser
Option 2: NodePort service (permanent for development)
Kubernetes has the concept of services. Services are a way to expose your application (regardless of how many pods are running).
In production, we don’t want to expose our application to the host, but when we’re developing, it’s no big deal.
Remember above when it was mentioned that we can add override resources into the src/test/kubernetes directory? This is one of those cases.
We can simply create a special service.yaml file that overrides the default service that is pulled in from the chalk tile.
Again, this will only be used when running building with skaffold, so don’t worry about this affecting your prod environment.
Under src/test/kubernetes, create a file called service.yaml with the following contents:
apiVersion: v1
kind: Service
metadata:
  namespace: ${environment}
  name: ${project.artifactId}
spec:
  type: NodePort
  ports:
    - port: ${tile-deploy.port}
      nodePort: 30080
  selector:
    app: ${project.artifactId}
After your app redeploys, you’ll be able to hit it at http://localhost:30080/users/TestUser
Option 3: Ingress (advanced)
There will come a time when there are multiple services running in your cluster, and you’ll want to expose some of them to the outside world. Perhaps at this point a user-experience exists that consumes these services.
It isn’t advisable to expose each service to a different port on your local machine in this case - as integration between these services (or the UX) can become a pain the more you scale.
With an Ingress controller, we can set up a DNS record that routes traffic to the correct service. The Ingress itself can be exposed, while the services themselves are not.
An ingress can essentially act as a gateway to internal resources - and in a real environment, they will very likely come into play.
For example, let’s say you had a website visible at http://my-app.com. If you wanted this app to access your backend api,
you could set up an ingress under the same domain (my-app.com), with a path of /api that routes to this service.
This way, your website can query the api by calling its own domain but with the /api suffix: http://my-app.com/api/users/TestUser
This is very much an application architecture concern, and there are many ways to achieve this. This is just one example.
We’ll cover this in more detail in an upcoming tutorial.
Conclusion
In this guide we’ve covered how to build and run your application in Kubernetes and some options around how we can access our app.
To learn how to start configuring your Microservice to prep it for delivery, continue on with Configuring your Microservice.